General Slicing Settings
The following are the most common settings you may want to change, you can always find more details on other settings in the Slicer or official documentation on recommendations, minimums and maximums
Finer / Increase
Increase in print quality or strength of part.
Higher material usage (cost) and print time.
Courser / Decrease
Decrease in print quality or strength of part.
Lower material usage (cost) and print time.
Settings to adjust for higher quality prints:
Detailed models.
Architectural models.
Complex geometry
Layer Height
The thickness of each layer in the print.
The lower the layer height, the higher the vertical resolution.
Min: 0.15mm | Slower printing, weaker, but higher Z-resolution. Max: 0.3mm | Faster, stronger, but lower Z-resolution.
Seam Position
The 'Seam' is the gap in between starting and finishing point of printing each layer.

An aligned seam arranges all the starting points of each printing layer at the same position across the vertical axis.
This may be unfavourable in some cases where it might cause a visible gap along a smooth print surface

A random seam allocates the starting and finishing points to different positions on each layer and could minimise the visibility of the gap.
Settings to adjust for higher quality strength:
Structural components
Practical components
1:1 models
Wall Loops
This is the number of outer shells to be printed for the object.
The greater the wall loops, the stronger the prints will be, the longer the time it is going to take to print.
Min: 2 | Weaker, lower quality surfaces, but faster and cheaper. Max: 5 | Stronger, higher quality surfaces, but slower printing and more material ($).
Sparse Infill
Infill could be another useful way to compensate the strength of the print.
Different infill patterns respond to different compressive behaviour.
Min: 7% | Weaker, but faster and less material used. MAx: 100% | Stronger, but better strength achieved with more Wall Loops (above).
Top / Bottom Shells
You can customise the different surface patterns on both top and bottom shells, which will affect the appearance of the print.
We recommend printing with a higher number of top surface (min. 5) if you have a model with a large top surface area.
Min: 2 | Weaker, lower quality surfaces, but faster print. Max: 5 | Stronger, higher surfaces, but slower print.
Settings to adjust for higher quality prints:
Support Types
Bambu Studio generates two types of supports

Normal Supports work best for large and flat overhangs. It maximises the surface of the underside of an overhang to be supported by a material.
Tree Supports work best for complex geometries. It optimises support efficiency and reaches undersides without colliding with the
object.
Support Angle
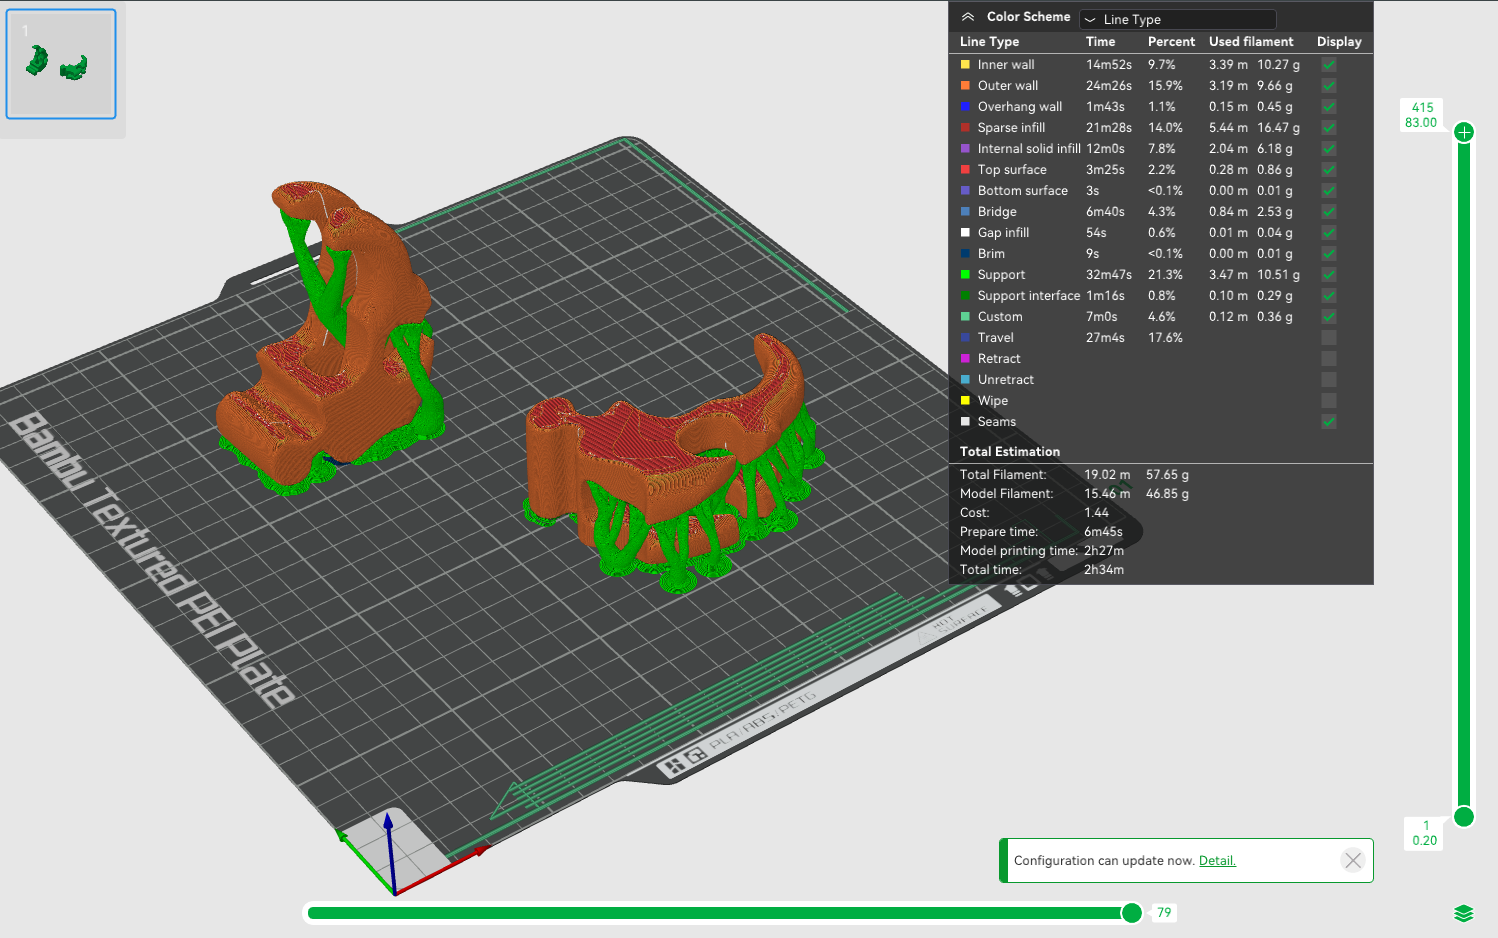
Decrease the angle (Min 30°) to save on material/time, but too little means the print may not print at all! If your print looks like below, increase the support angle!
Increase the angle Max 90°) to capture more unsupported areas, more supports may be necessary to ensure the part even prints
Arrangement
Orientation
Orientation has two main affects; strength and support material generation.
Strength: if the part is a functional part, then this takes priority over support material. 3D prints are weakest parallel to the layer lines.
Support Material: Minimise waste by picking an orientation that reduces the amount of support material.
Finish: curved/ramped areas will look 'contoured' depending on the orientation, adjust to best suit your finish.
Refer to the Modelling for FDM guidelines to better understand orientation.

Bed Layout
Reducing the space between objects will also reduce print time. The print-head or extruder of a 3D printer will need to move in-between objects. Reducing the distance the extruder needs to move will reduce the overall print time.

Last updated
Was this helpful?